How is a terrain board made? — Part 2
Part 2: The materials and the tools
We are back with the second part of the Edoras build log. (You did not have to wait long for it, did you 😂.) In this part we list and introduce — in exhaustive detail — the materials and tools most often used in building dioramas and terrain boards. So: social media off, television down, brush on the table, and pay attention to the lesson. (There is a test at the end 👀)
Let us start with the holy grail of terrain building:
- XPS: extruded polystyrene foam. An easily shaped, textured and cut thermoplastic — very light, stable, and available in several thicknesses. Its one drawback is the price. We use it mainly for more detailed terrain pieces, and for upper soil layers and hills.
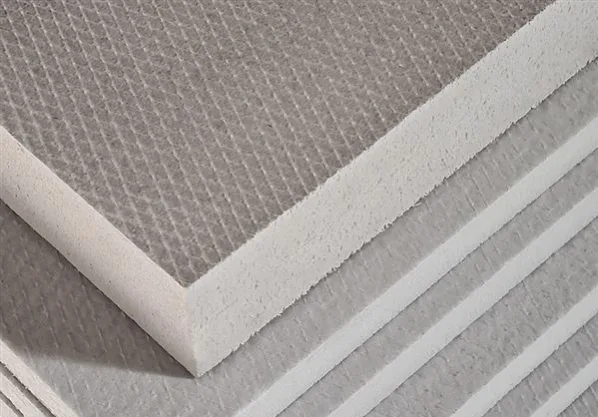
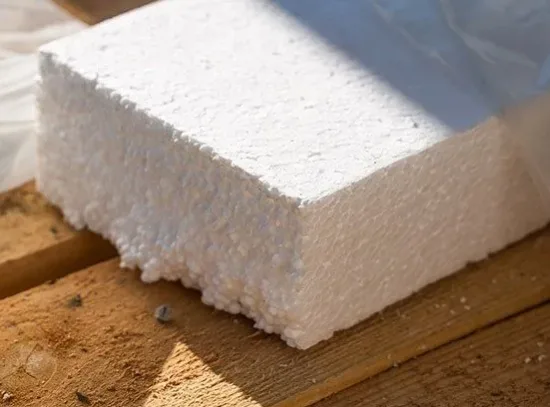
- EPS: ordinary expanded polystyrene is the lighter, considerably cheaper but more fragile cousin of XPS. It is a little harder to shape and cut because of its crumbly, brittle structure — it is made of tiny beads, which stick eagerly to any fabric you happen to be wearing. Because it is cheap we use it mostly to fill out high-volume terrain pieces and for lower structures.
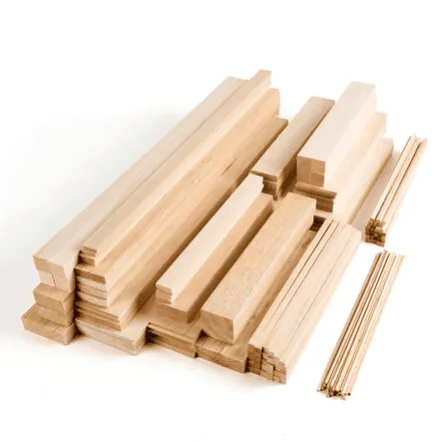
- Wood: also relatively cheap, but much heavier and harder to cut. We use it for frames and structures, and the softer kinds — balsa, for instance — for miniature bridges, roofs, beams, fences and other parts of buildings.
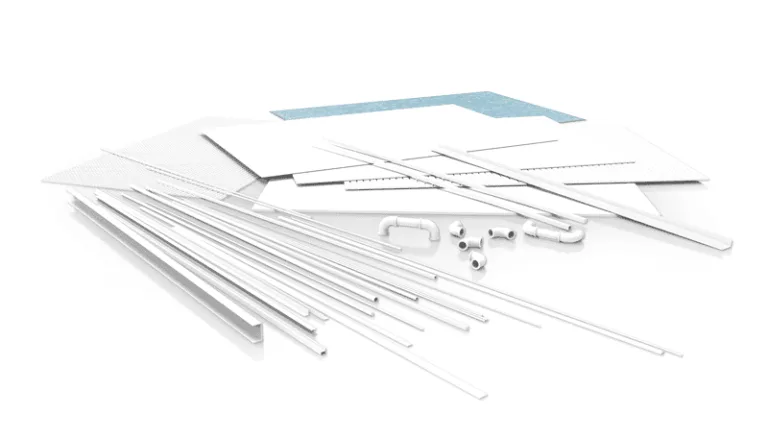
- Plasticard (HIPS/ABS): a very dense plastic, sold in various thicknesses and cut to different shapes and profiles. A relatively expensive material, used for smaller objects, machinery, geometric shapes and details. It cuts and carves easily and holds texture well.
- Plaster, ready-mix concrete, masonry mortar: mixed with water into a solid material you can cast in a mould. We use it mostly to work up the surface of rocks and hillsides. Relatively cheap, and you can buy ready-made plastic moulds for miniature flagstones and statues.
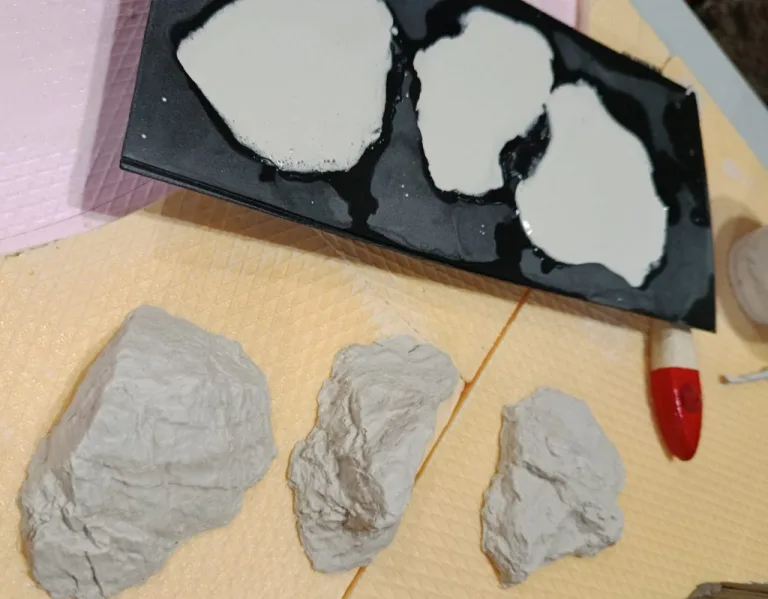
A small spoiler: the plaster casting process, which we will go through in a later article
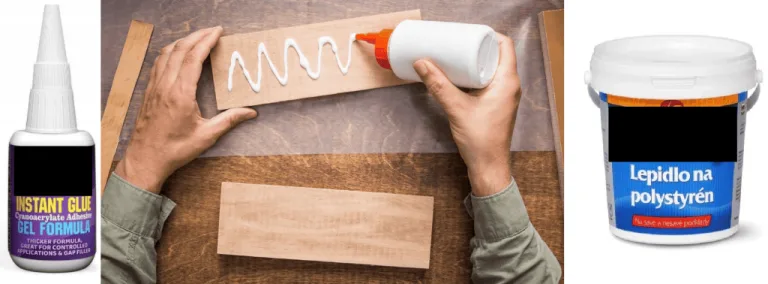
- Glues, several kinds: we could dwell on this topic longest, because every surface and every use wants a different adhesive. Of them all, white / PVA / wood glue deserves a special mention as the most versatile: it bonds wood, plastic, and polystyrene to an acceptable degree, and mixed with sand and paint it makes a ground texture as well. Superglue is worth mentioning too — it bonds many surfaces with a fast setting time, but it acts as a solvent on any kind of polystyrene. For this project we will also use a special polystyrene glue, since that can double as a filler for later repairs.
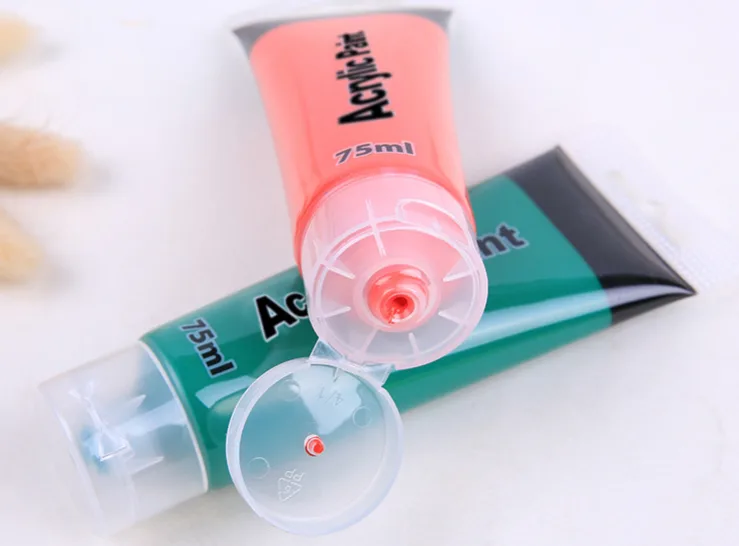
- Paints: every hobbyist's best friends. Throughout the project we will use acrylics only. For larger areas we use the cheaper sort that usually comes in tubes; for smaller details the more densely pigmented (and mildly overpriced 😭) paints made specifically for miniatures are better.
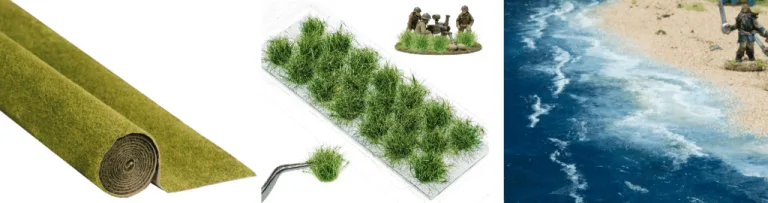
- Foliage, flowers, grass mat, ground and water effects: happily there is plenty to choose from here, and the limit is the sky and the contents of your wallet. Grass tufts, scatterable static grass, bushes, reeds, cereal crops and ready-made grass mat are all real options. In our case the ready-made mat makes the most sense for the money, with tufts and flowers on top as decoration. For ground texture on roads and open spaces we prefer a home-made solution, which saves a little on materials. The water effects, sadly, we cannot make from household materials — for those we use a special latex-based product.
- Sand, gravel, bark, and other gifts of the earth: this covers every treasure a sharp-eyed hobbyist can find in nature on an afternoon walk. Their great advantage is that they are free. Collecting and preparing them takes a little work, though: sand has to be sieved and sterilised by baking, and so does bark. Stones get washed in hot water to take off any dirt before painting. They are enormously versatile — sand makes ground texture, bark makes layered slate and rocks, gravel makes riverbeds, stones, roads and kerbs. If you would rather pay for them anyway (thereby earning our disapproval — seriously, go outside; as the young people say, "Touch grass!" 🫵😐🫸🌱) then pet shops will sell you bathing sand, bark mulch and aquarium gravel.

The aforementioned hobbyist on a "treasure hunt"
Now for the heap of tools we will be using on this project. Here you can reach as far as your proverbial blanket stretches — the sky is the limit. So, in no order of importance whatsoever:
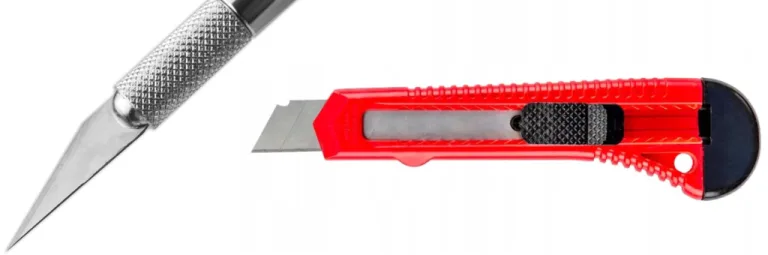
- Box cutter, scalpel, snap-off knife: the favourite (and most dangerous) accessory of every hobby project. It cuts paper, wood, plastic and thinner aluminium sheet, it is cheap, the blades are easy to change and it is versatile. What more could you want?
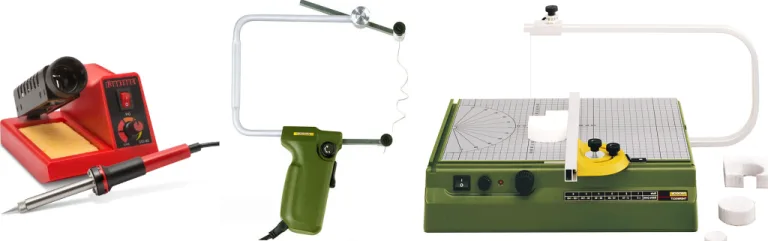
- Hot-wire cutter / soldering iron: a specialised tool, but it gives far more precision, especially for cutting and carving larger and thicker XPS sheets. There are several price brackets here, from the handheld hot knife through the soldering iron to the bench-mounted hot-wire tool.
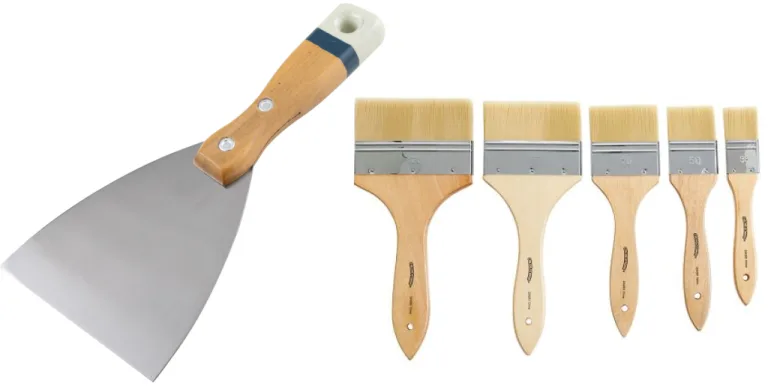
- Filling knife and brushes: the obvious choice — for applying glue and paint, smoothing ground textures and a great deal else.
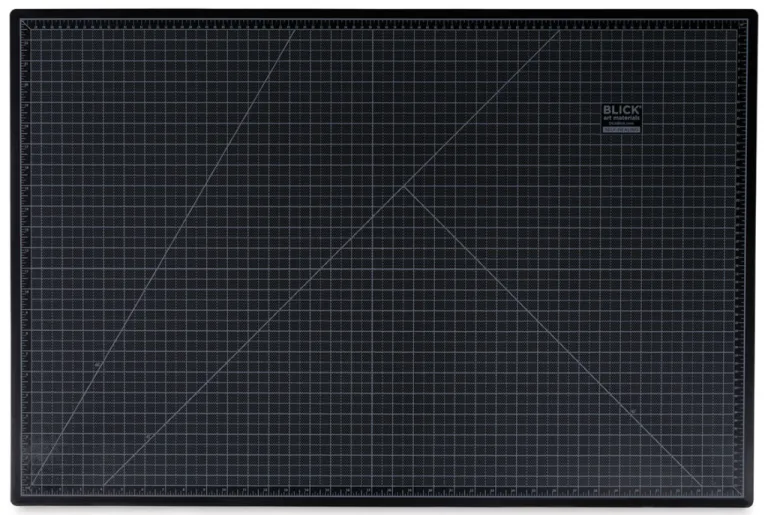
- A cutting surface, or a self-healing mat: a solid base where you can cut, glue, mix and melt without scoring the varnish off the kitchen table. 😱 A sheet of cardboard laid out flat works too.
- I would also single out the various tape measures, set squares and other measuring tools, without which it would be hard to cut anything accurately, and clamps or pliers, which stop glued surfaces sliding apart. A dry palette for mixing paint and glue is useful as well — it can be any plastic surface, a leftover tile, or even a piece of cardboard on its way to the bin.
Of course not every project needs this mountain of tools and materials, and it is worth remembering that many of these are already in almost every household. As a beginner you can make something lovely with very little and very cheaply — do not let any of this put you off. … Well now, we have just given ourselves an idea for a new series.
We hope, dear reader, that this slightly dry list has not taken the wind out of your sails, because in the next article we get into the thick of it (literally) and finally start building. 🤞 Coming soon…
P.S.: I lied, there is no test on the contents of this article. No hard feelings, I hope 😉
Comments (0)
- No comments yet — be the first!